Build a Polar Bear
IDEAS DESIGN CHALLENGE
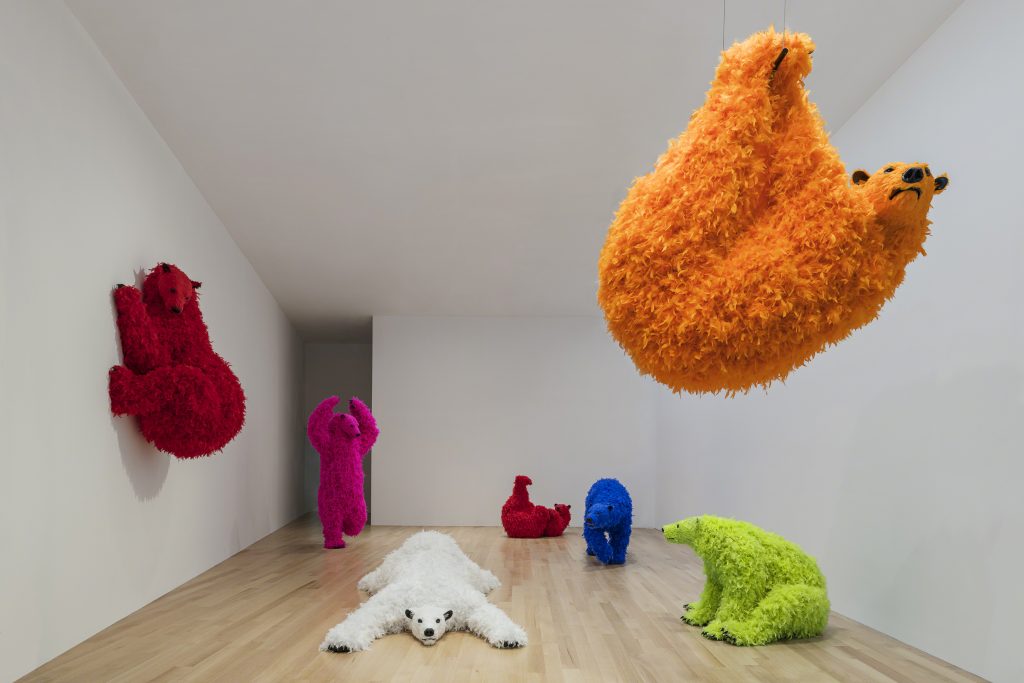
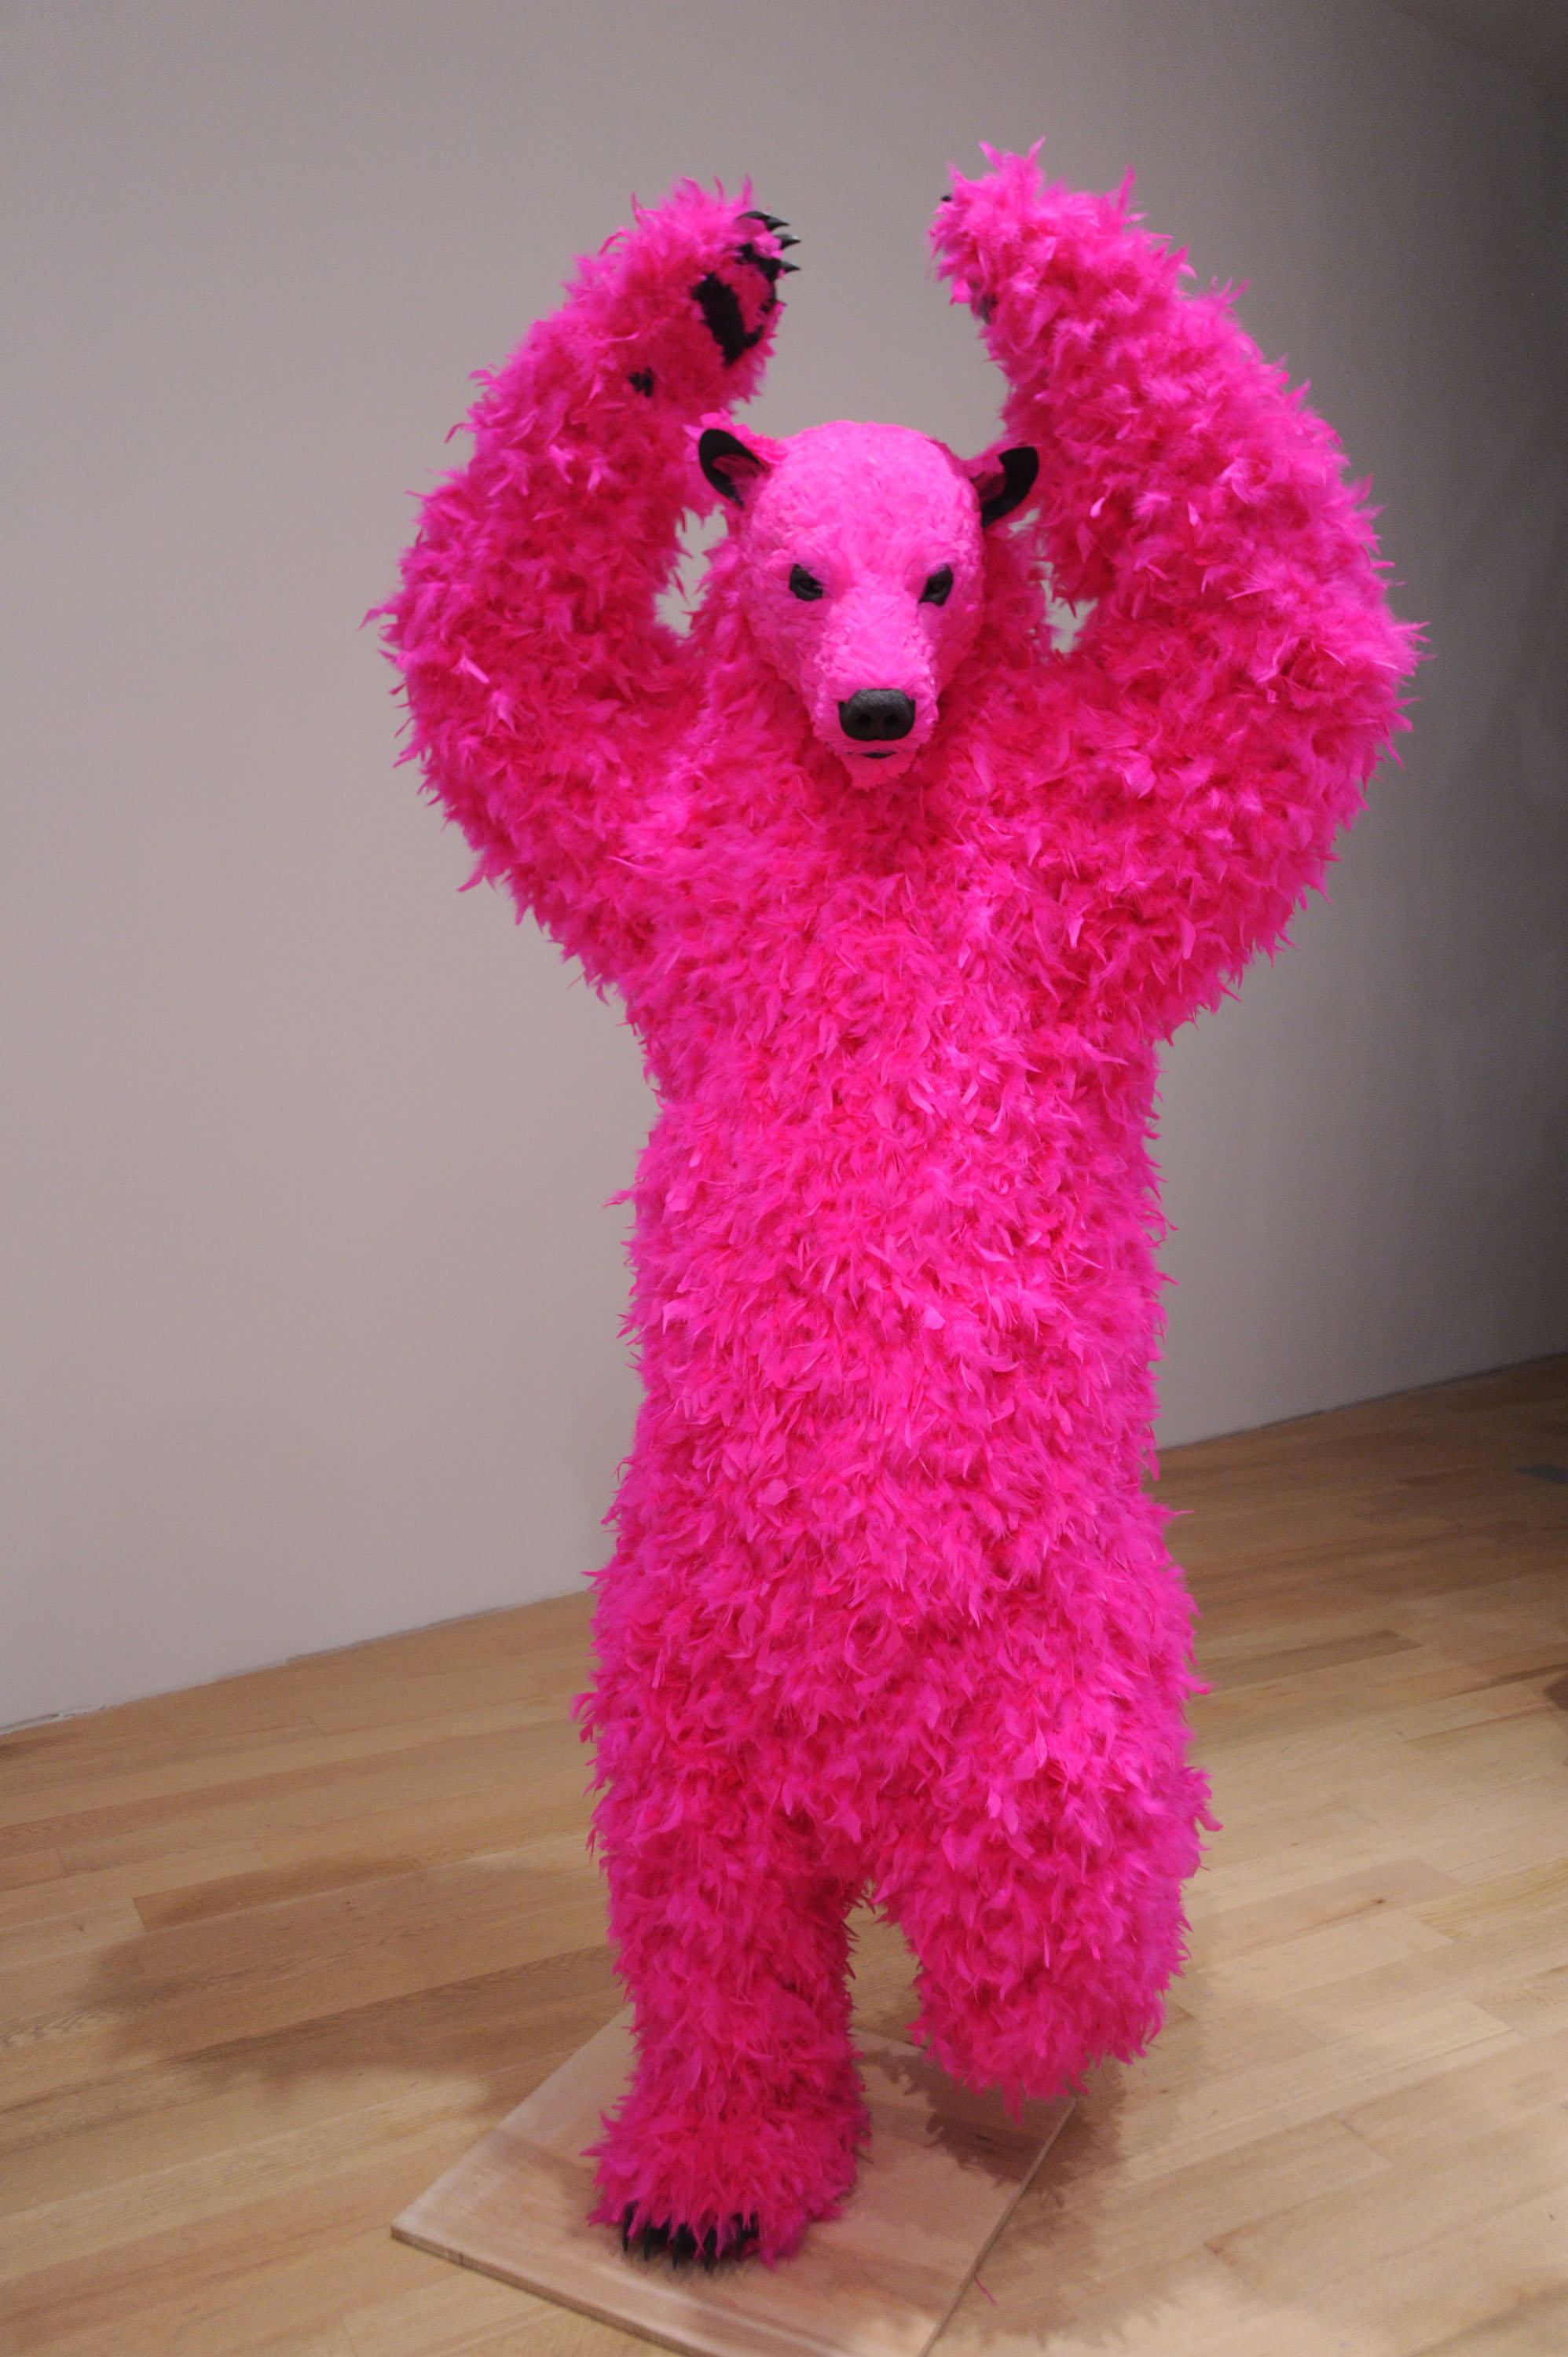
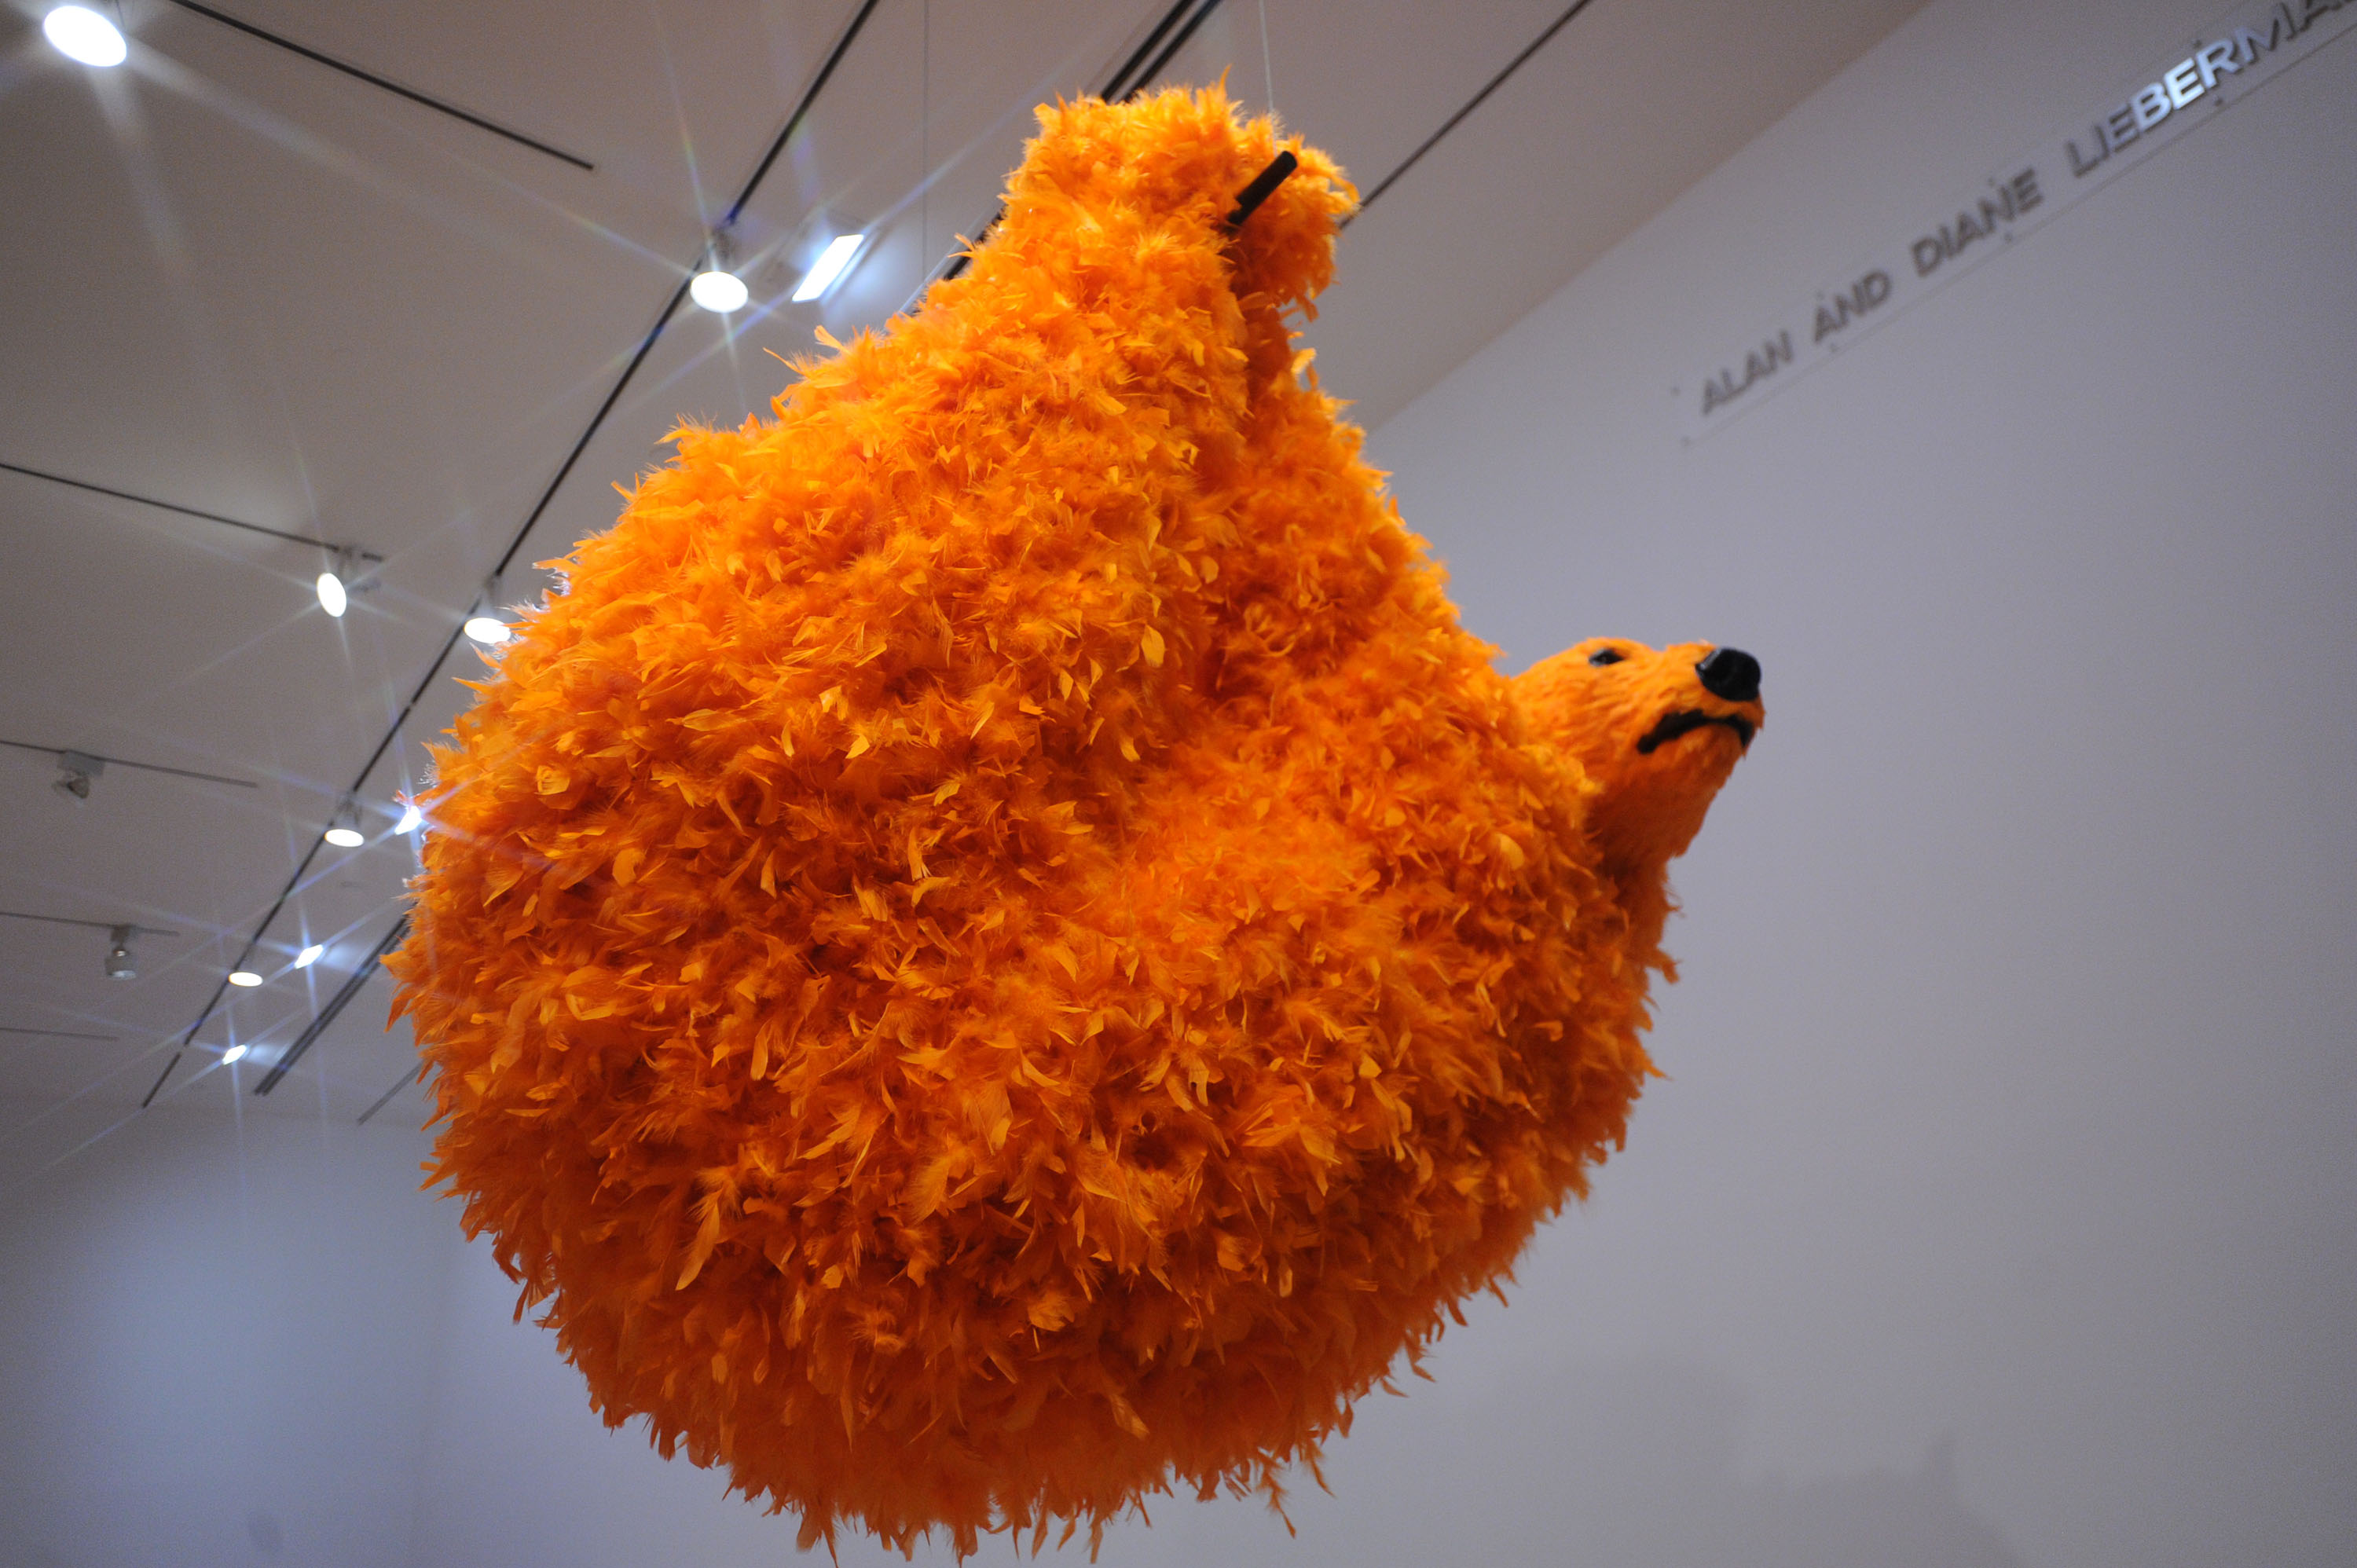
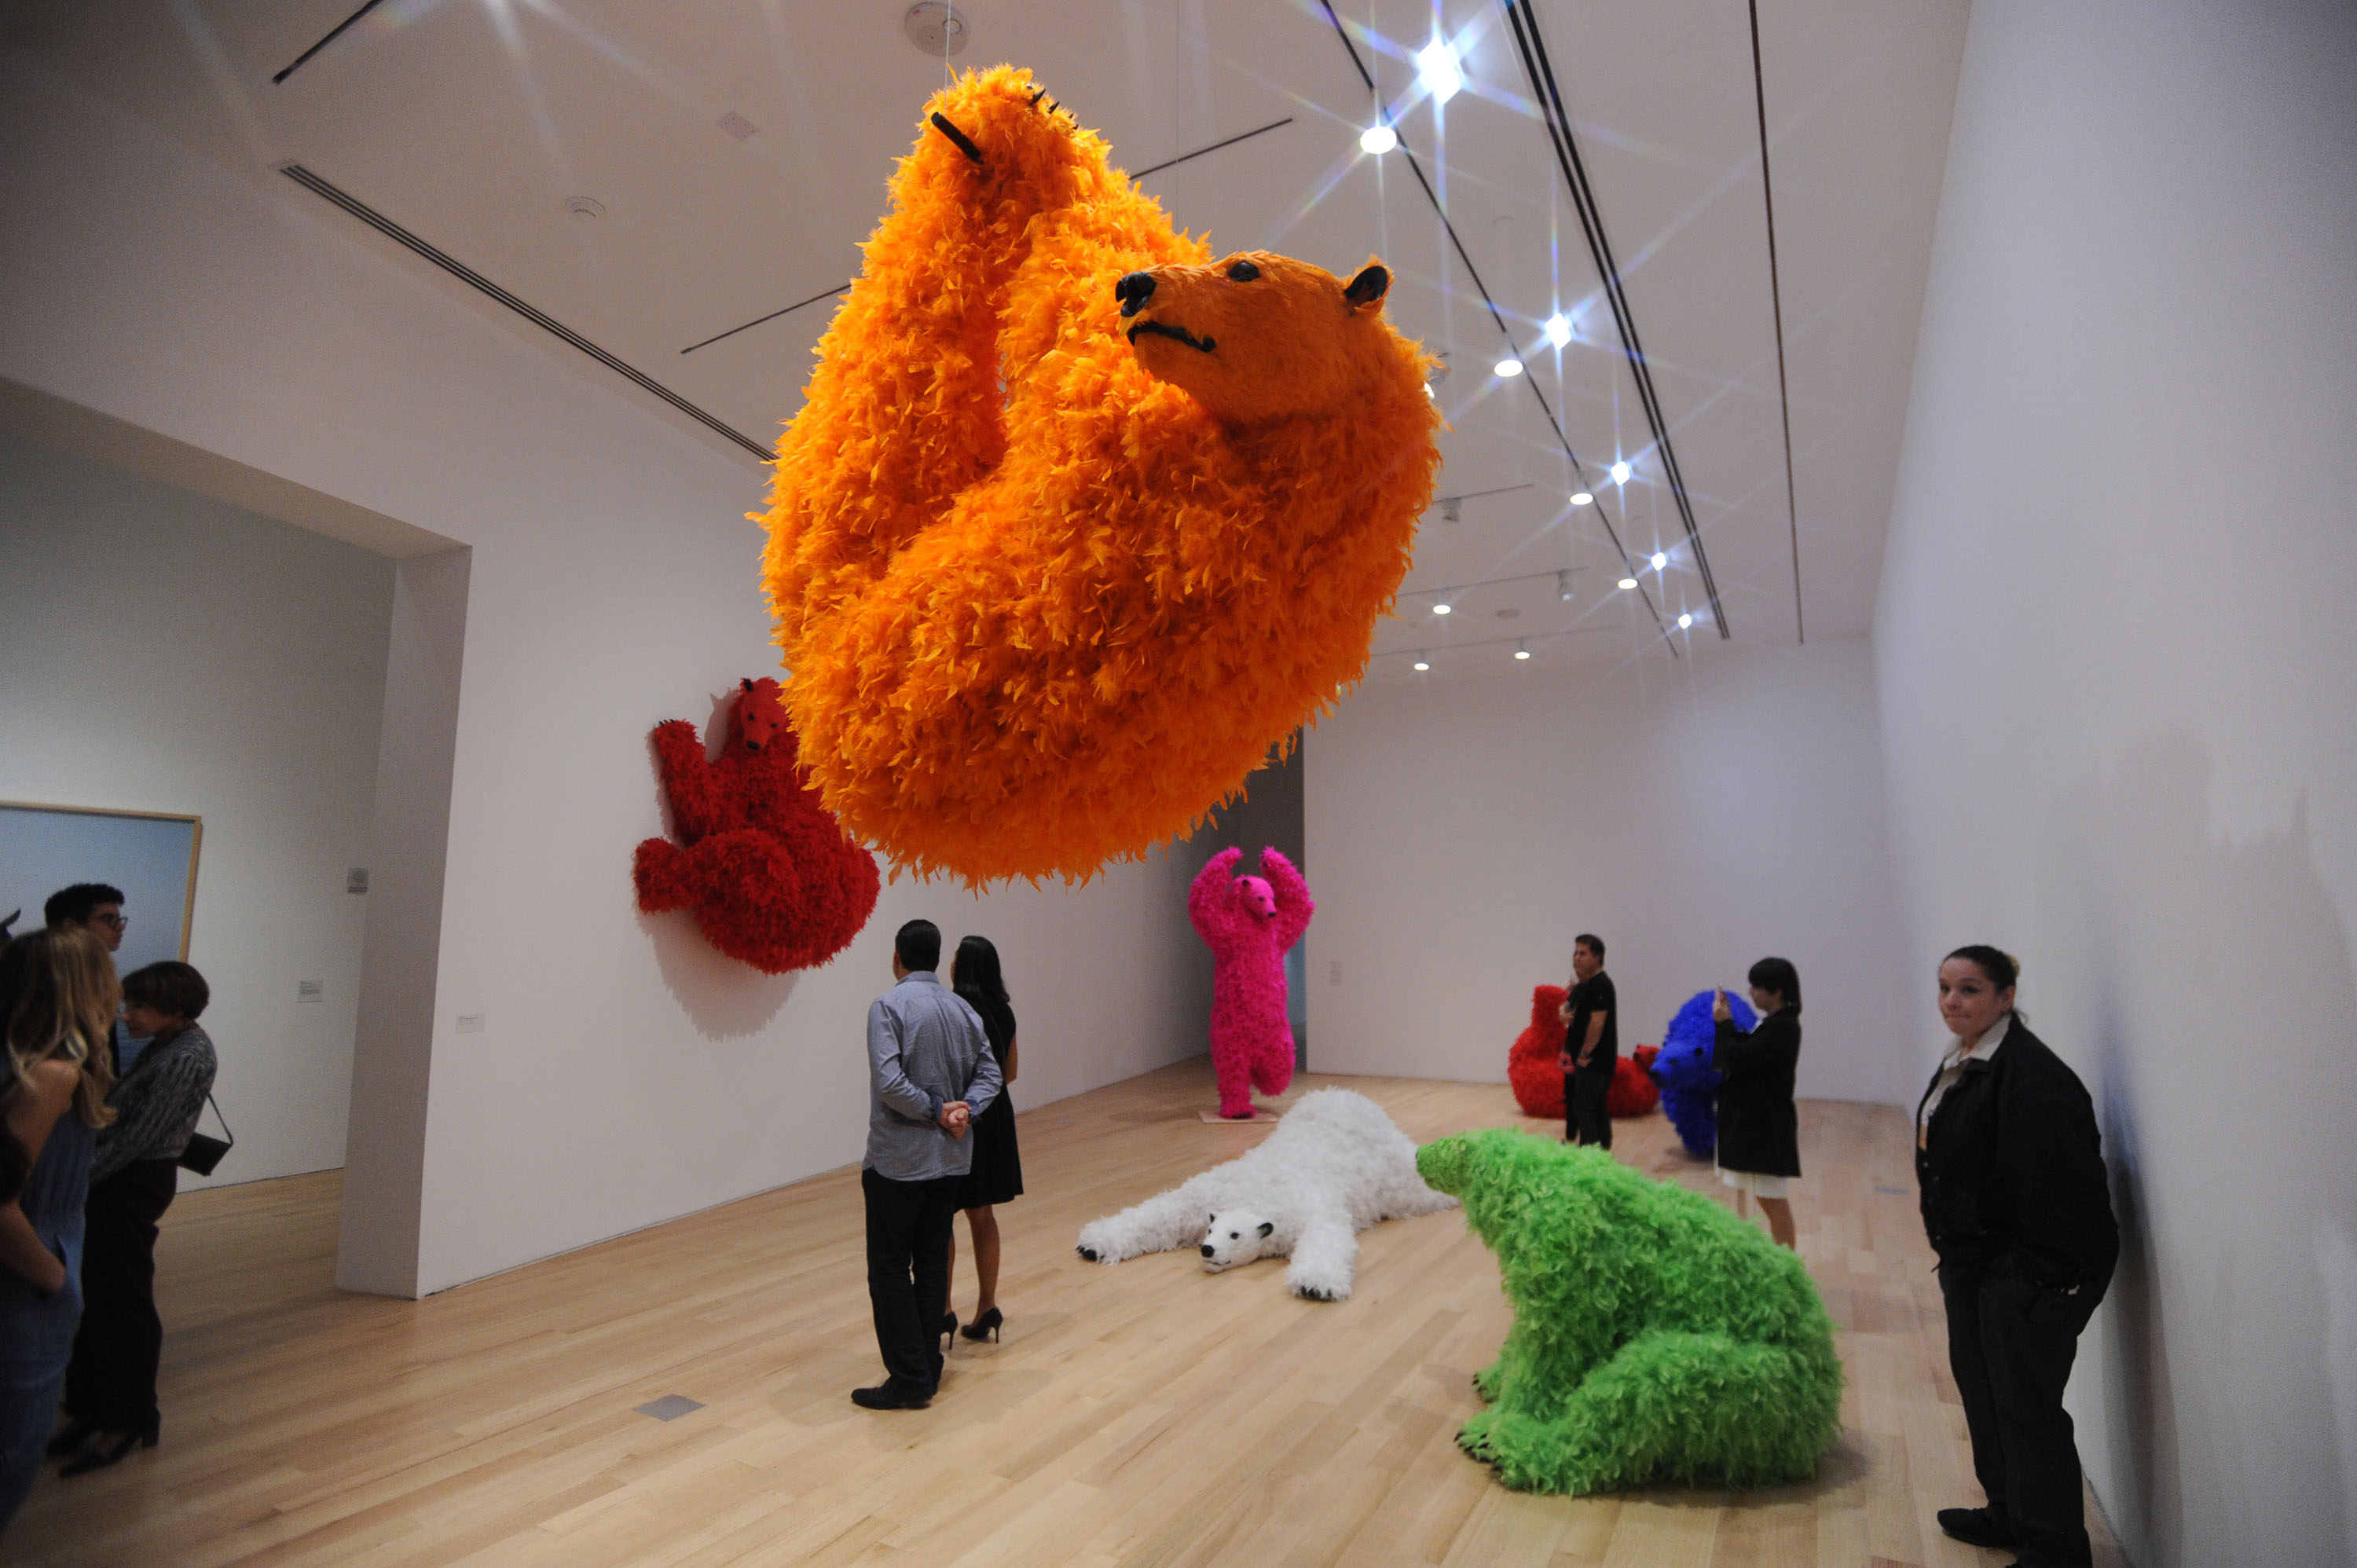
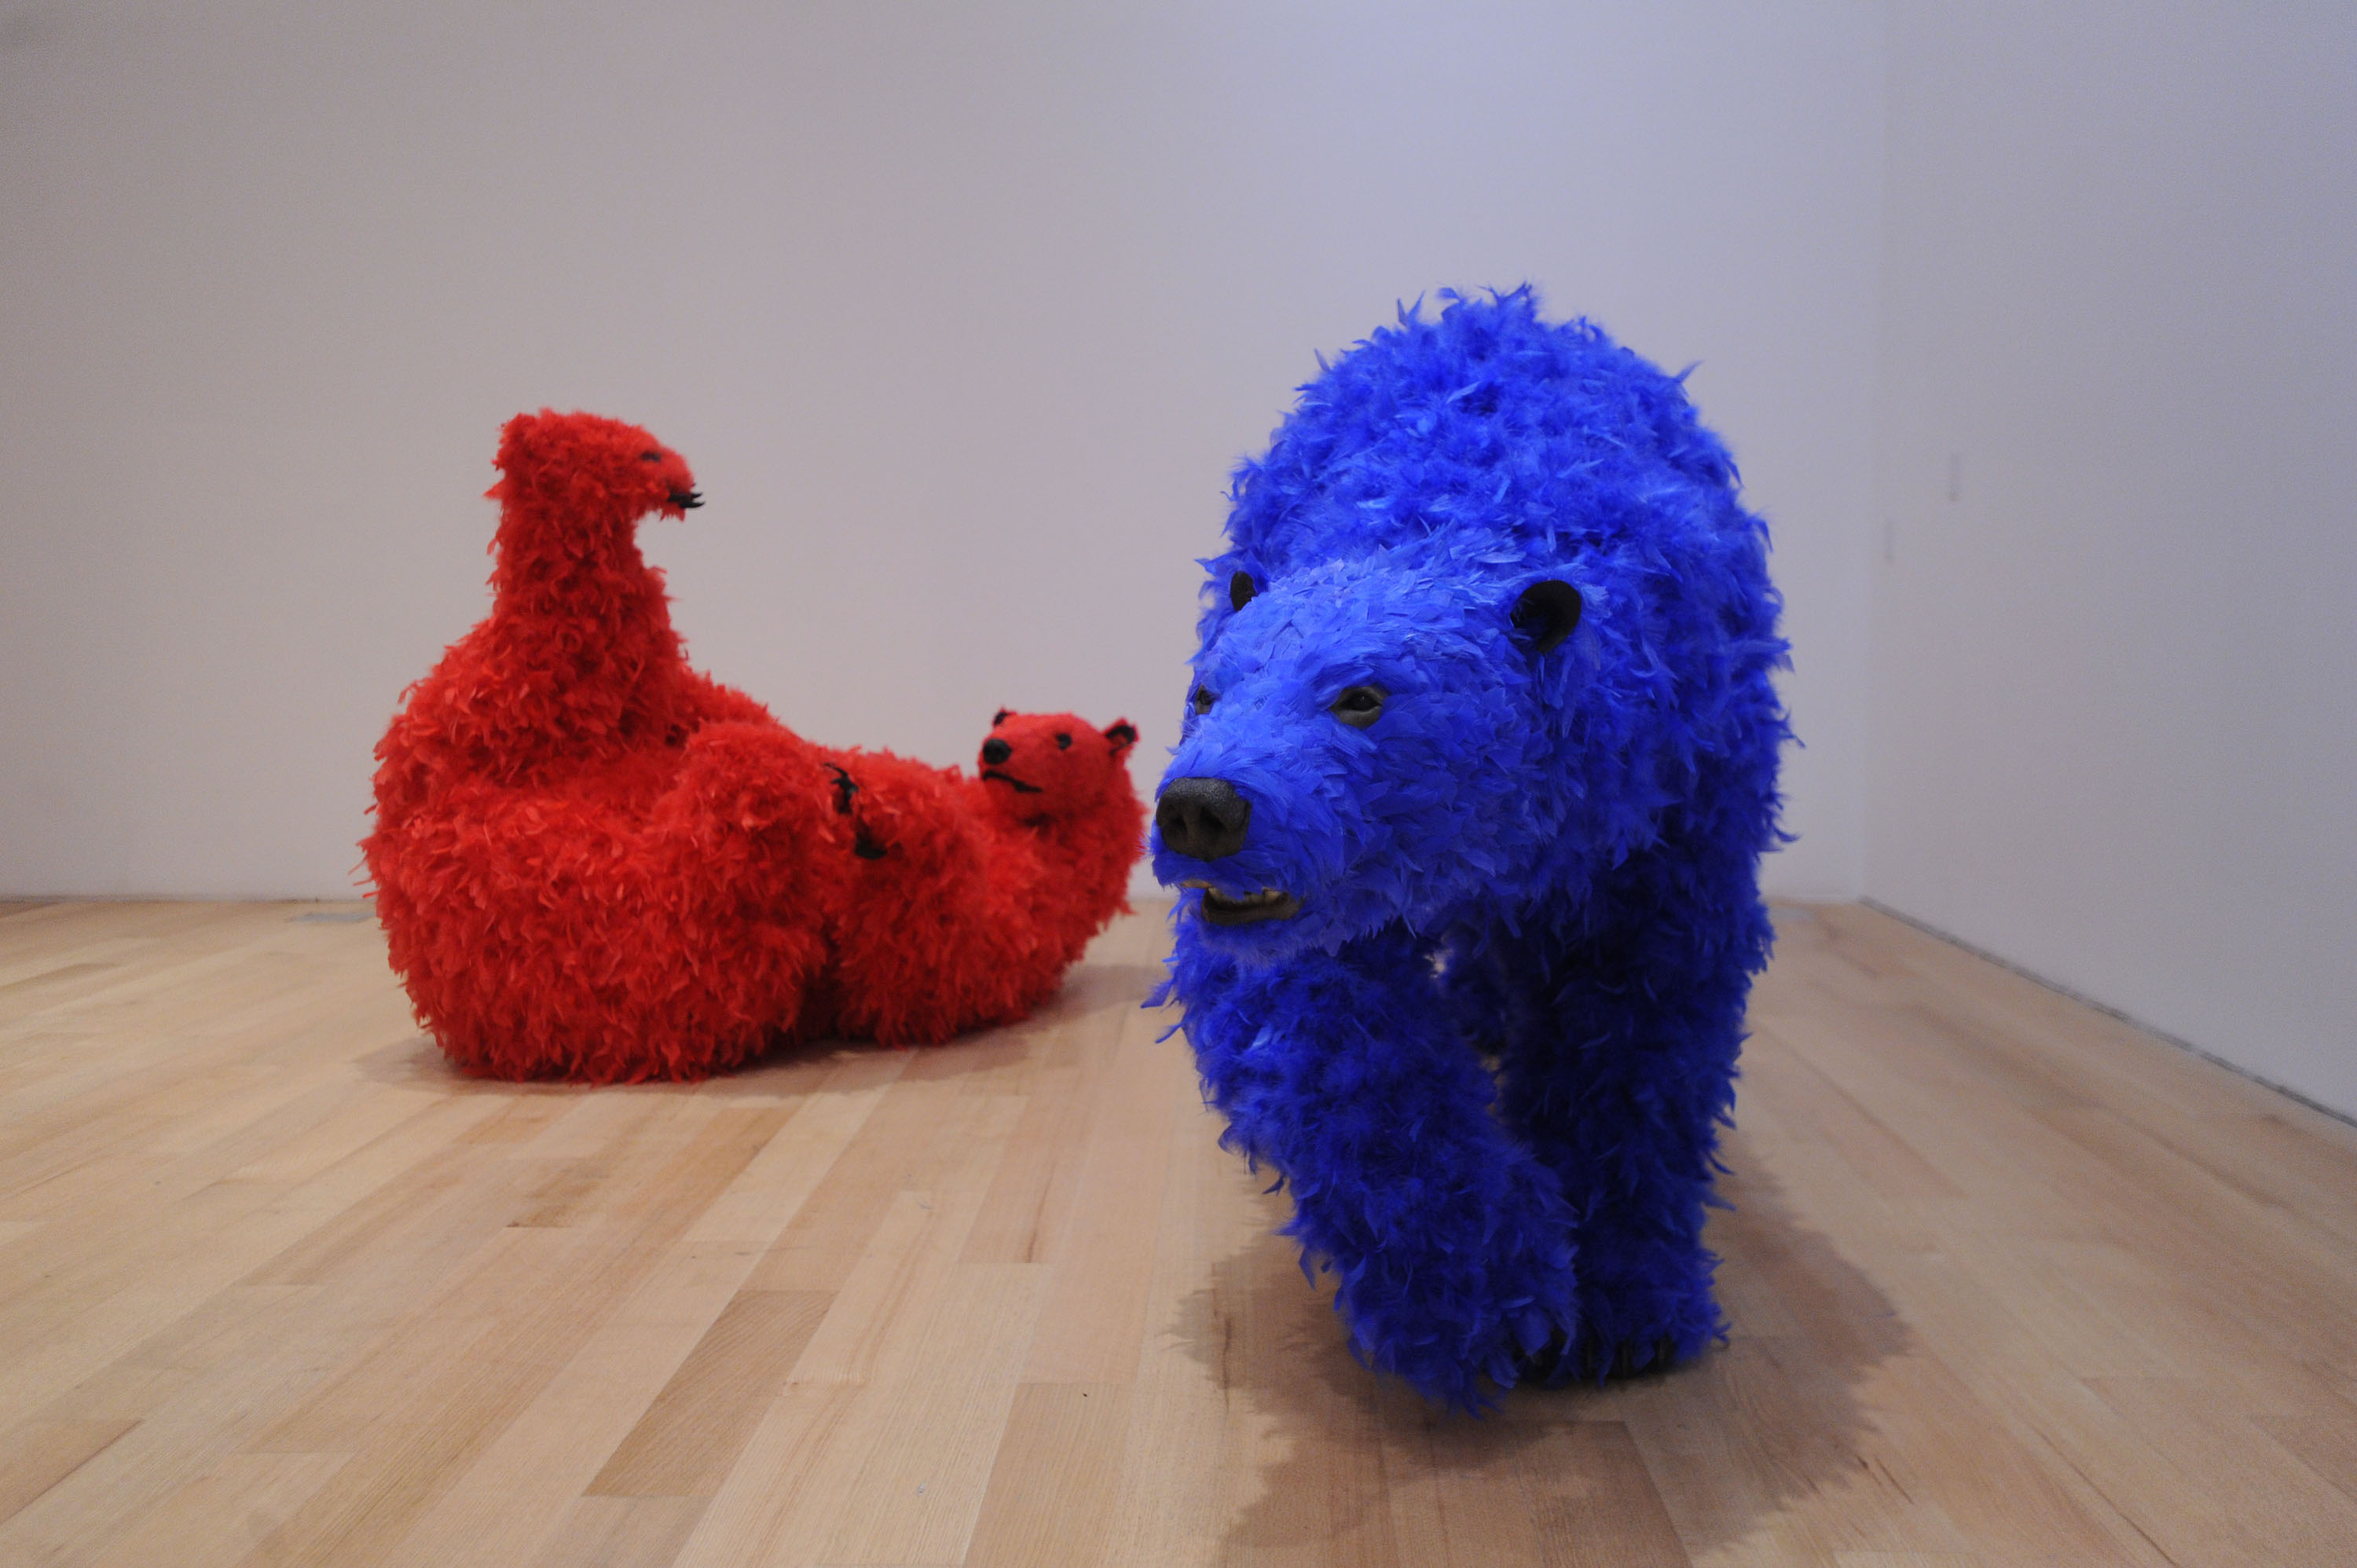
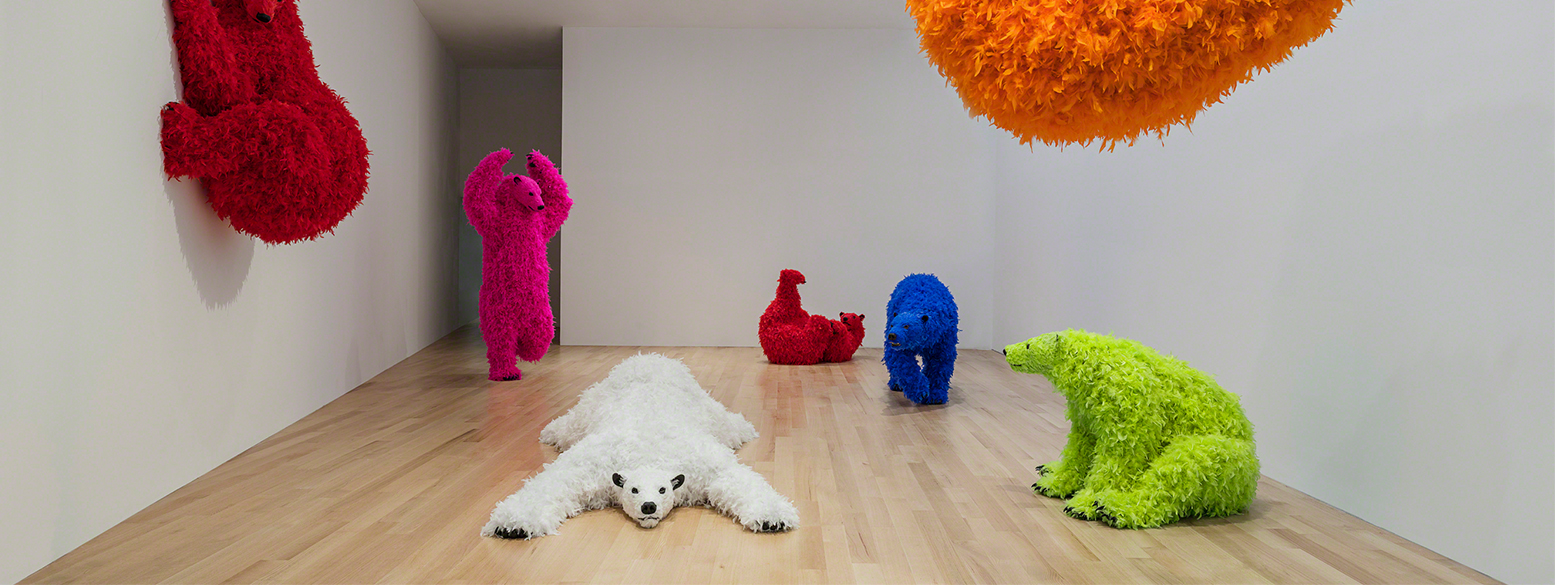
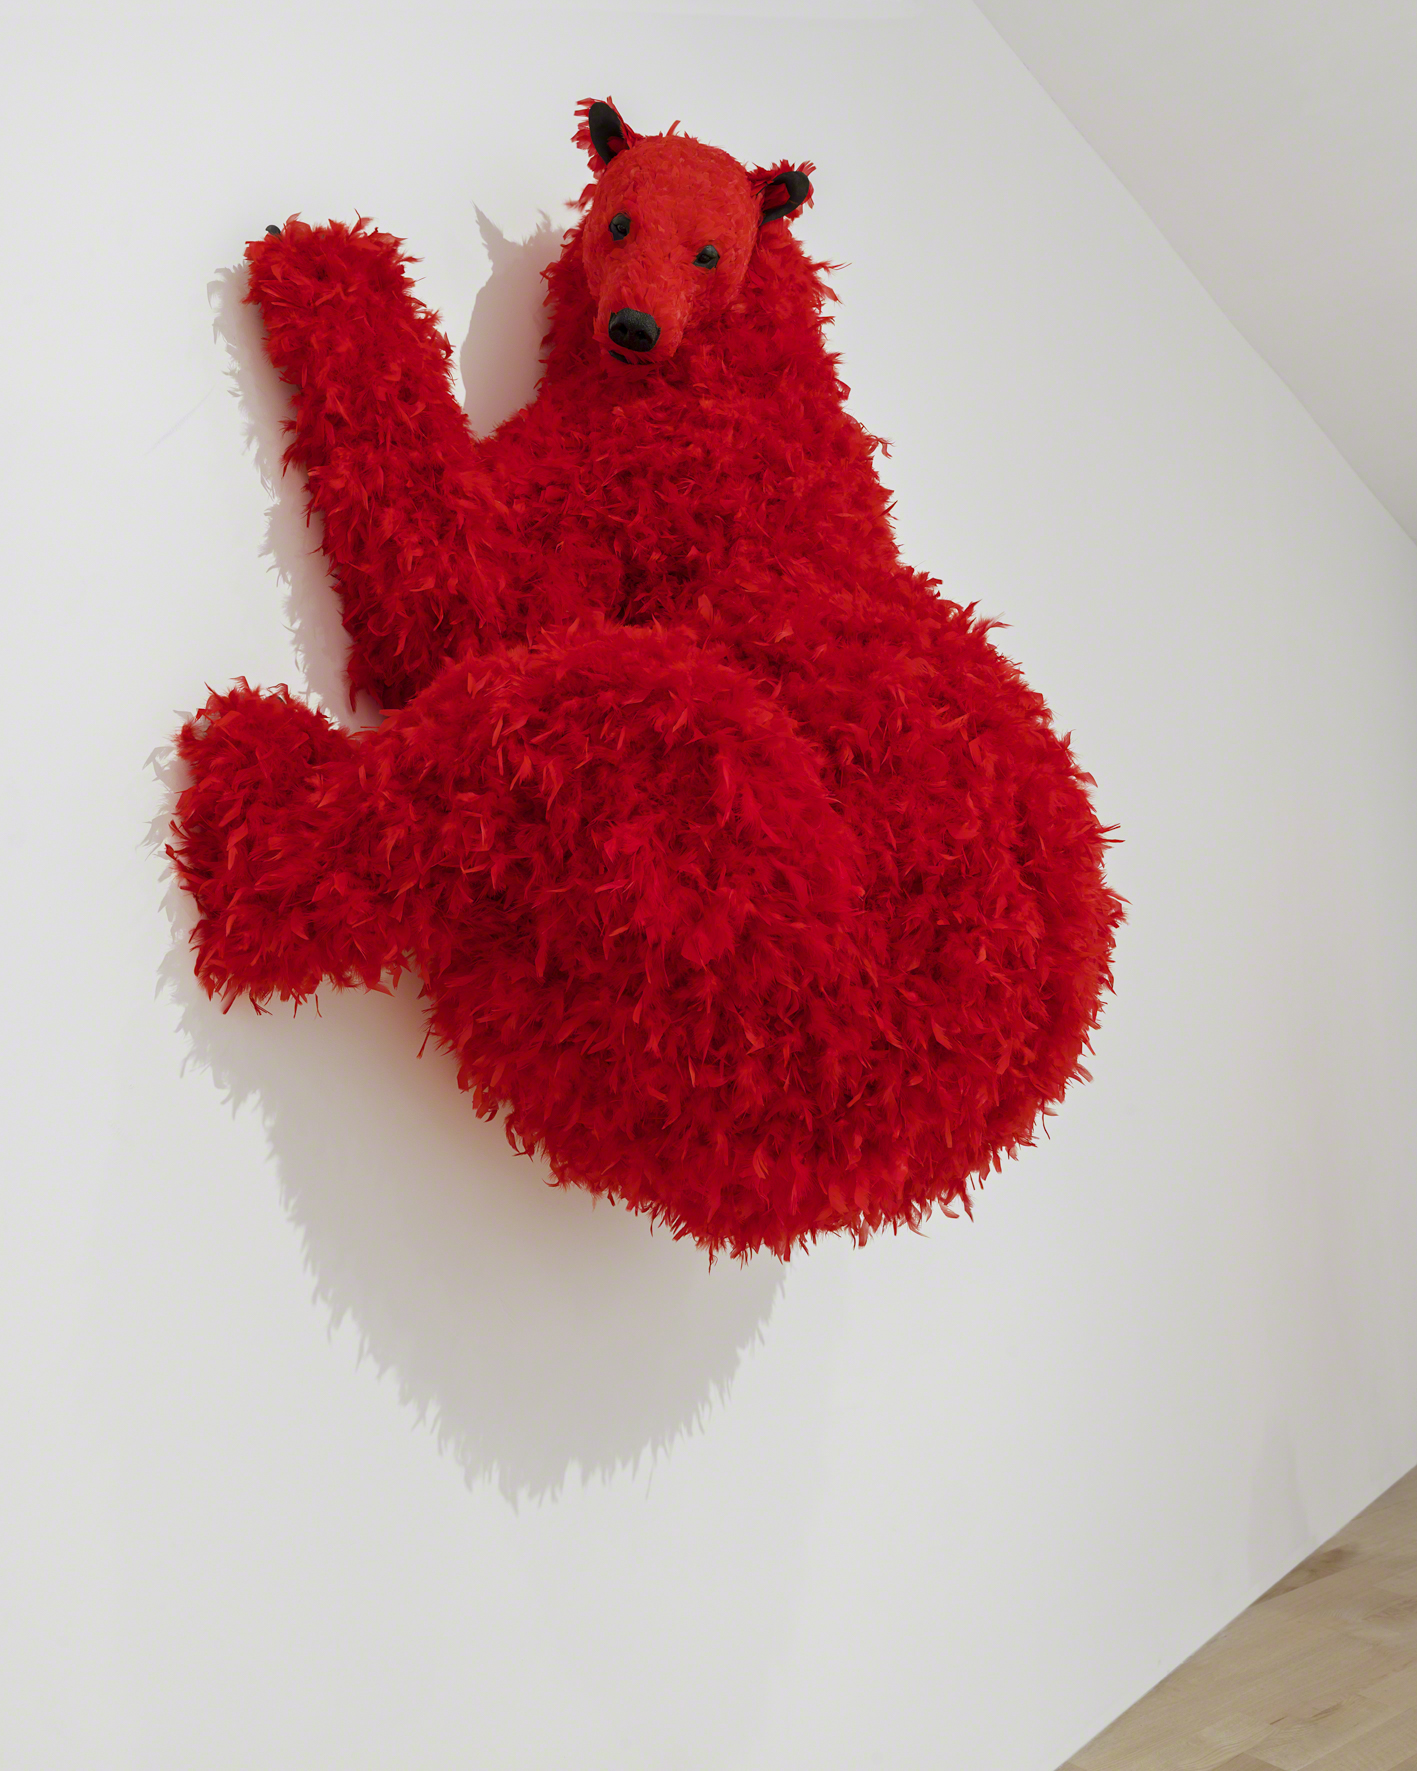
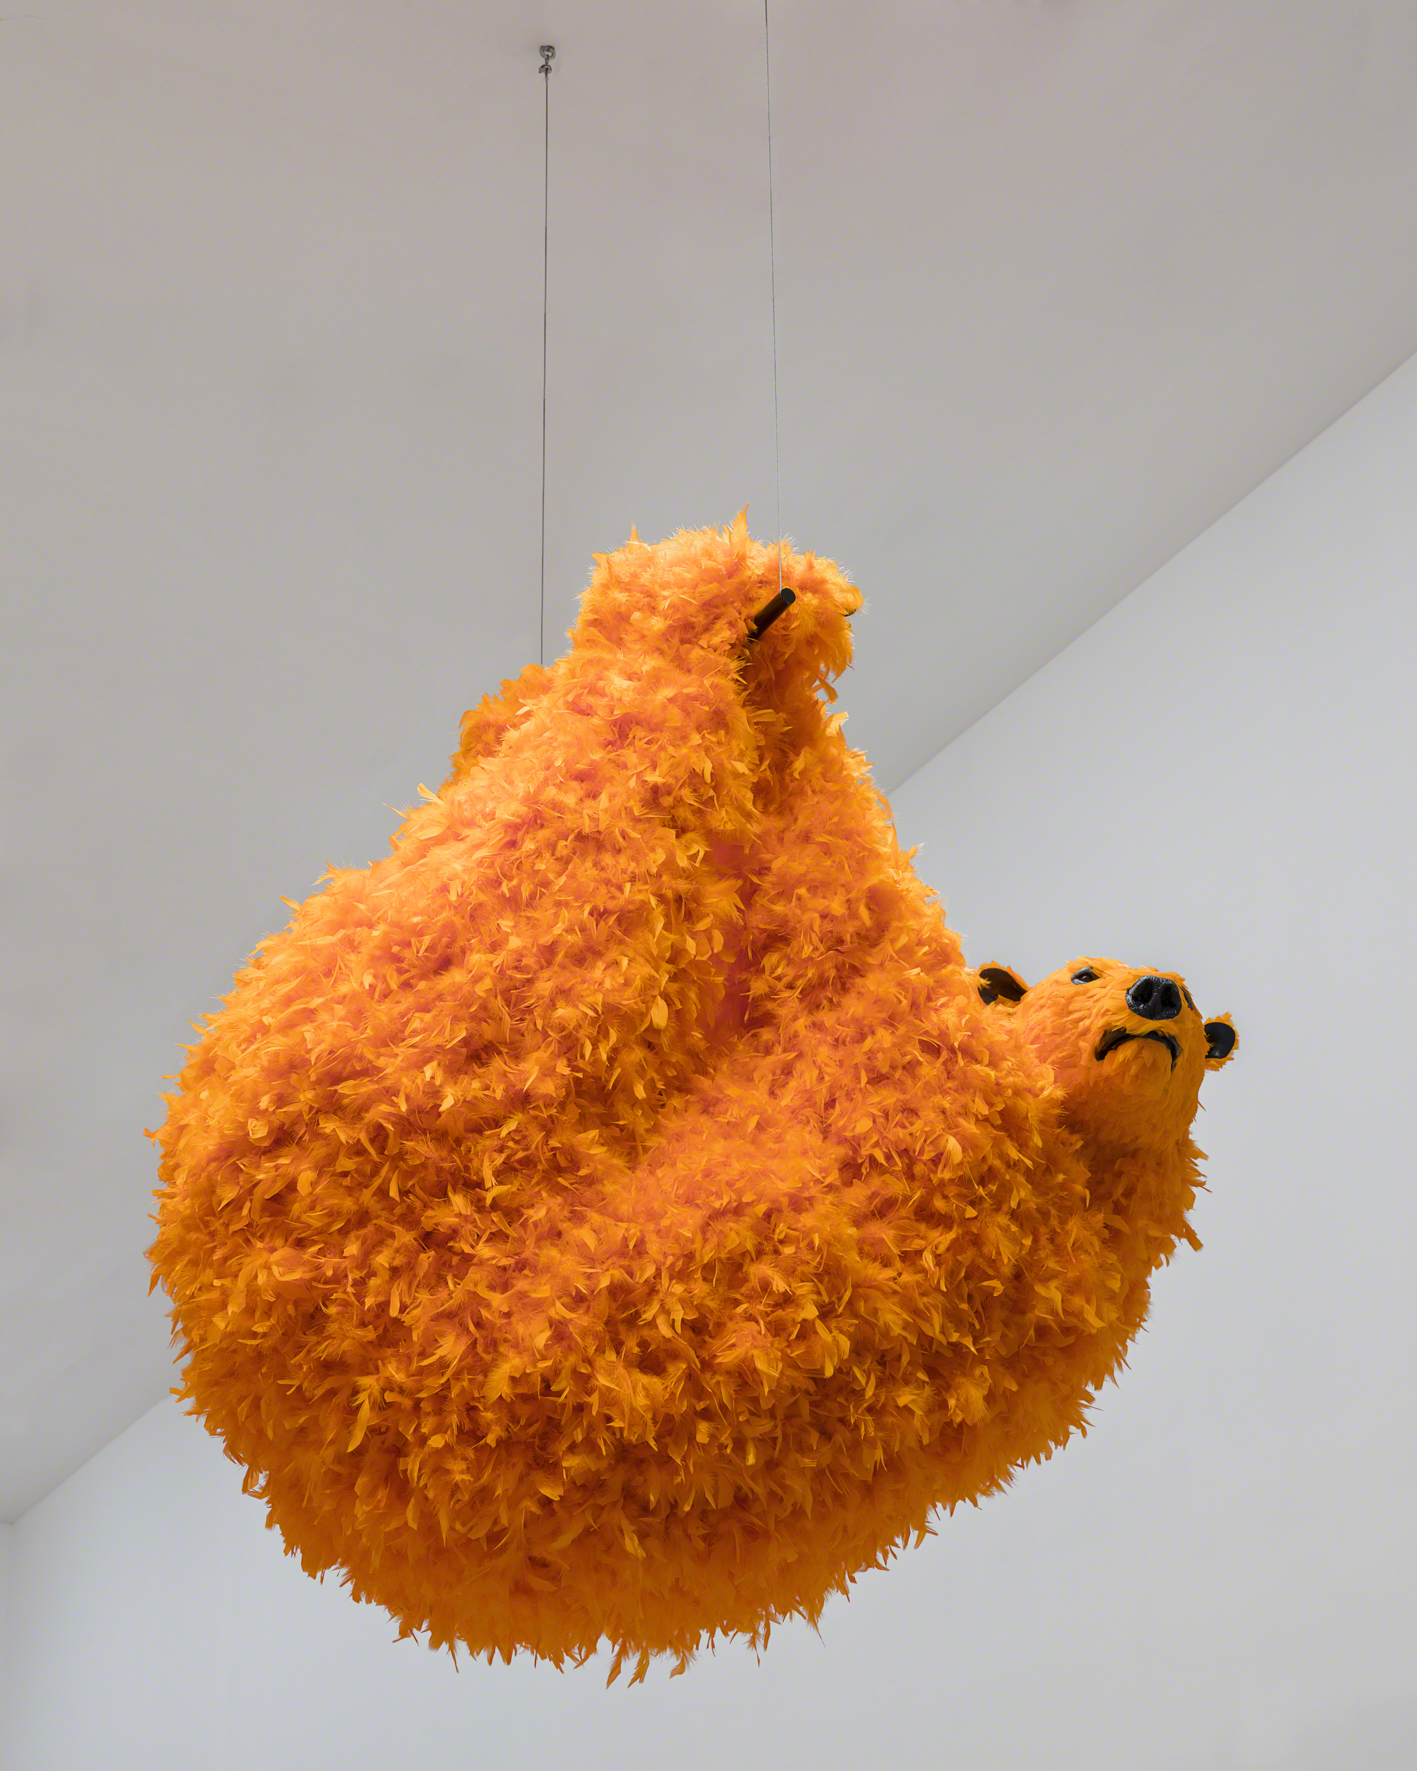
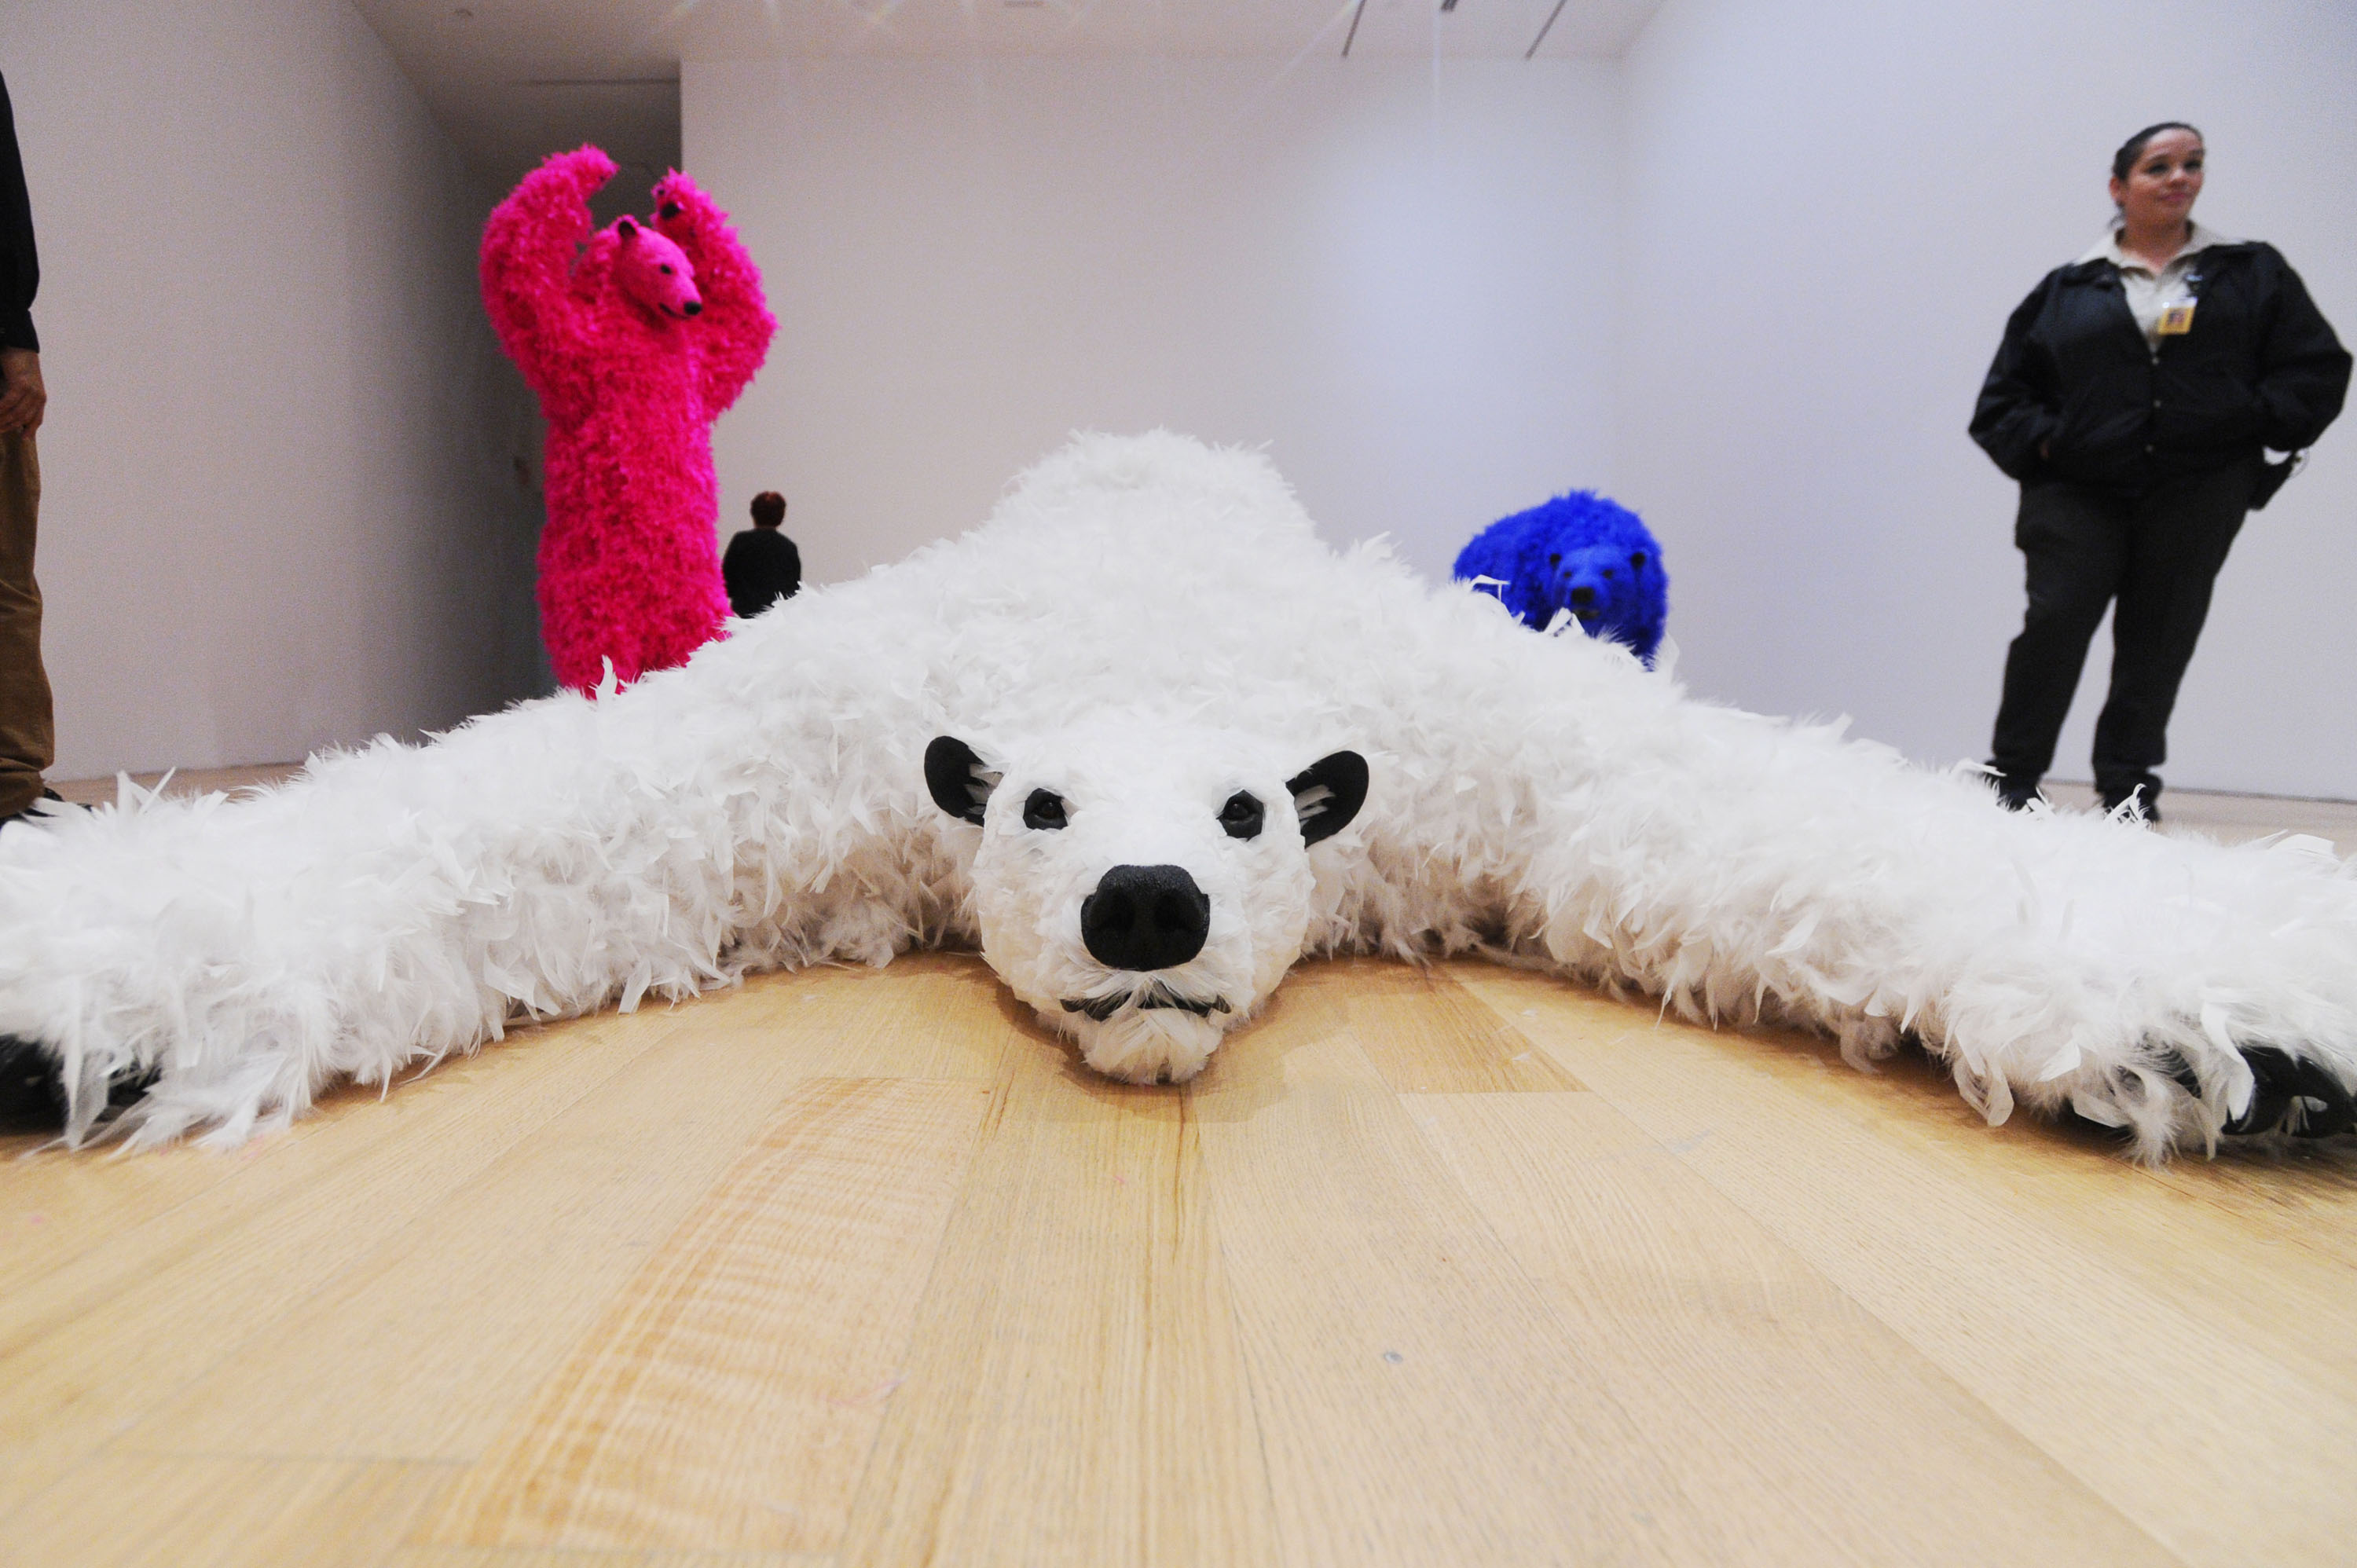
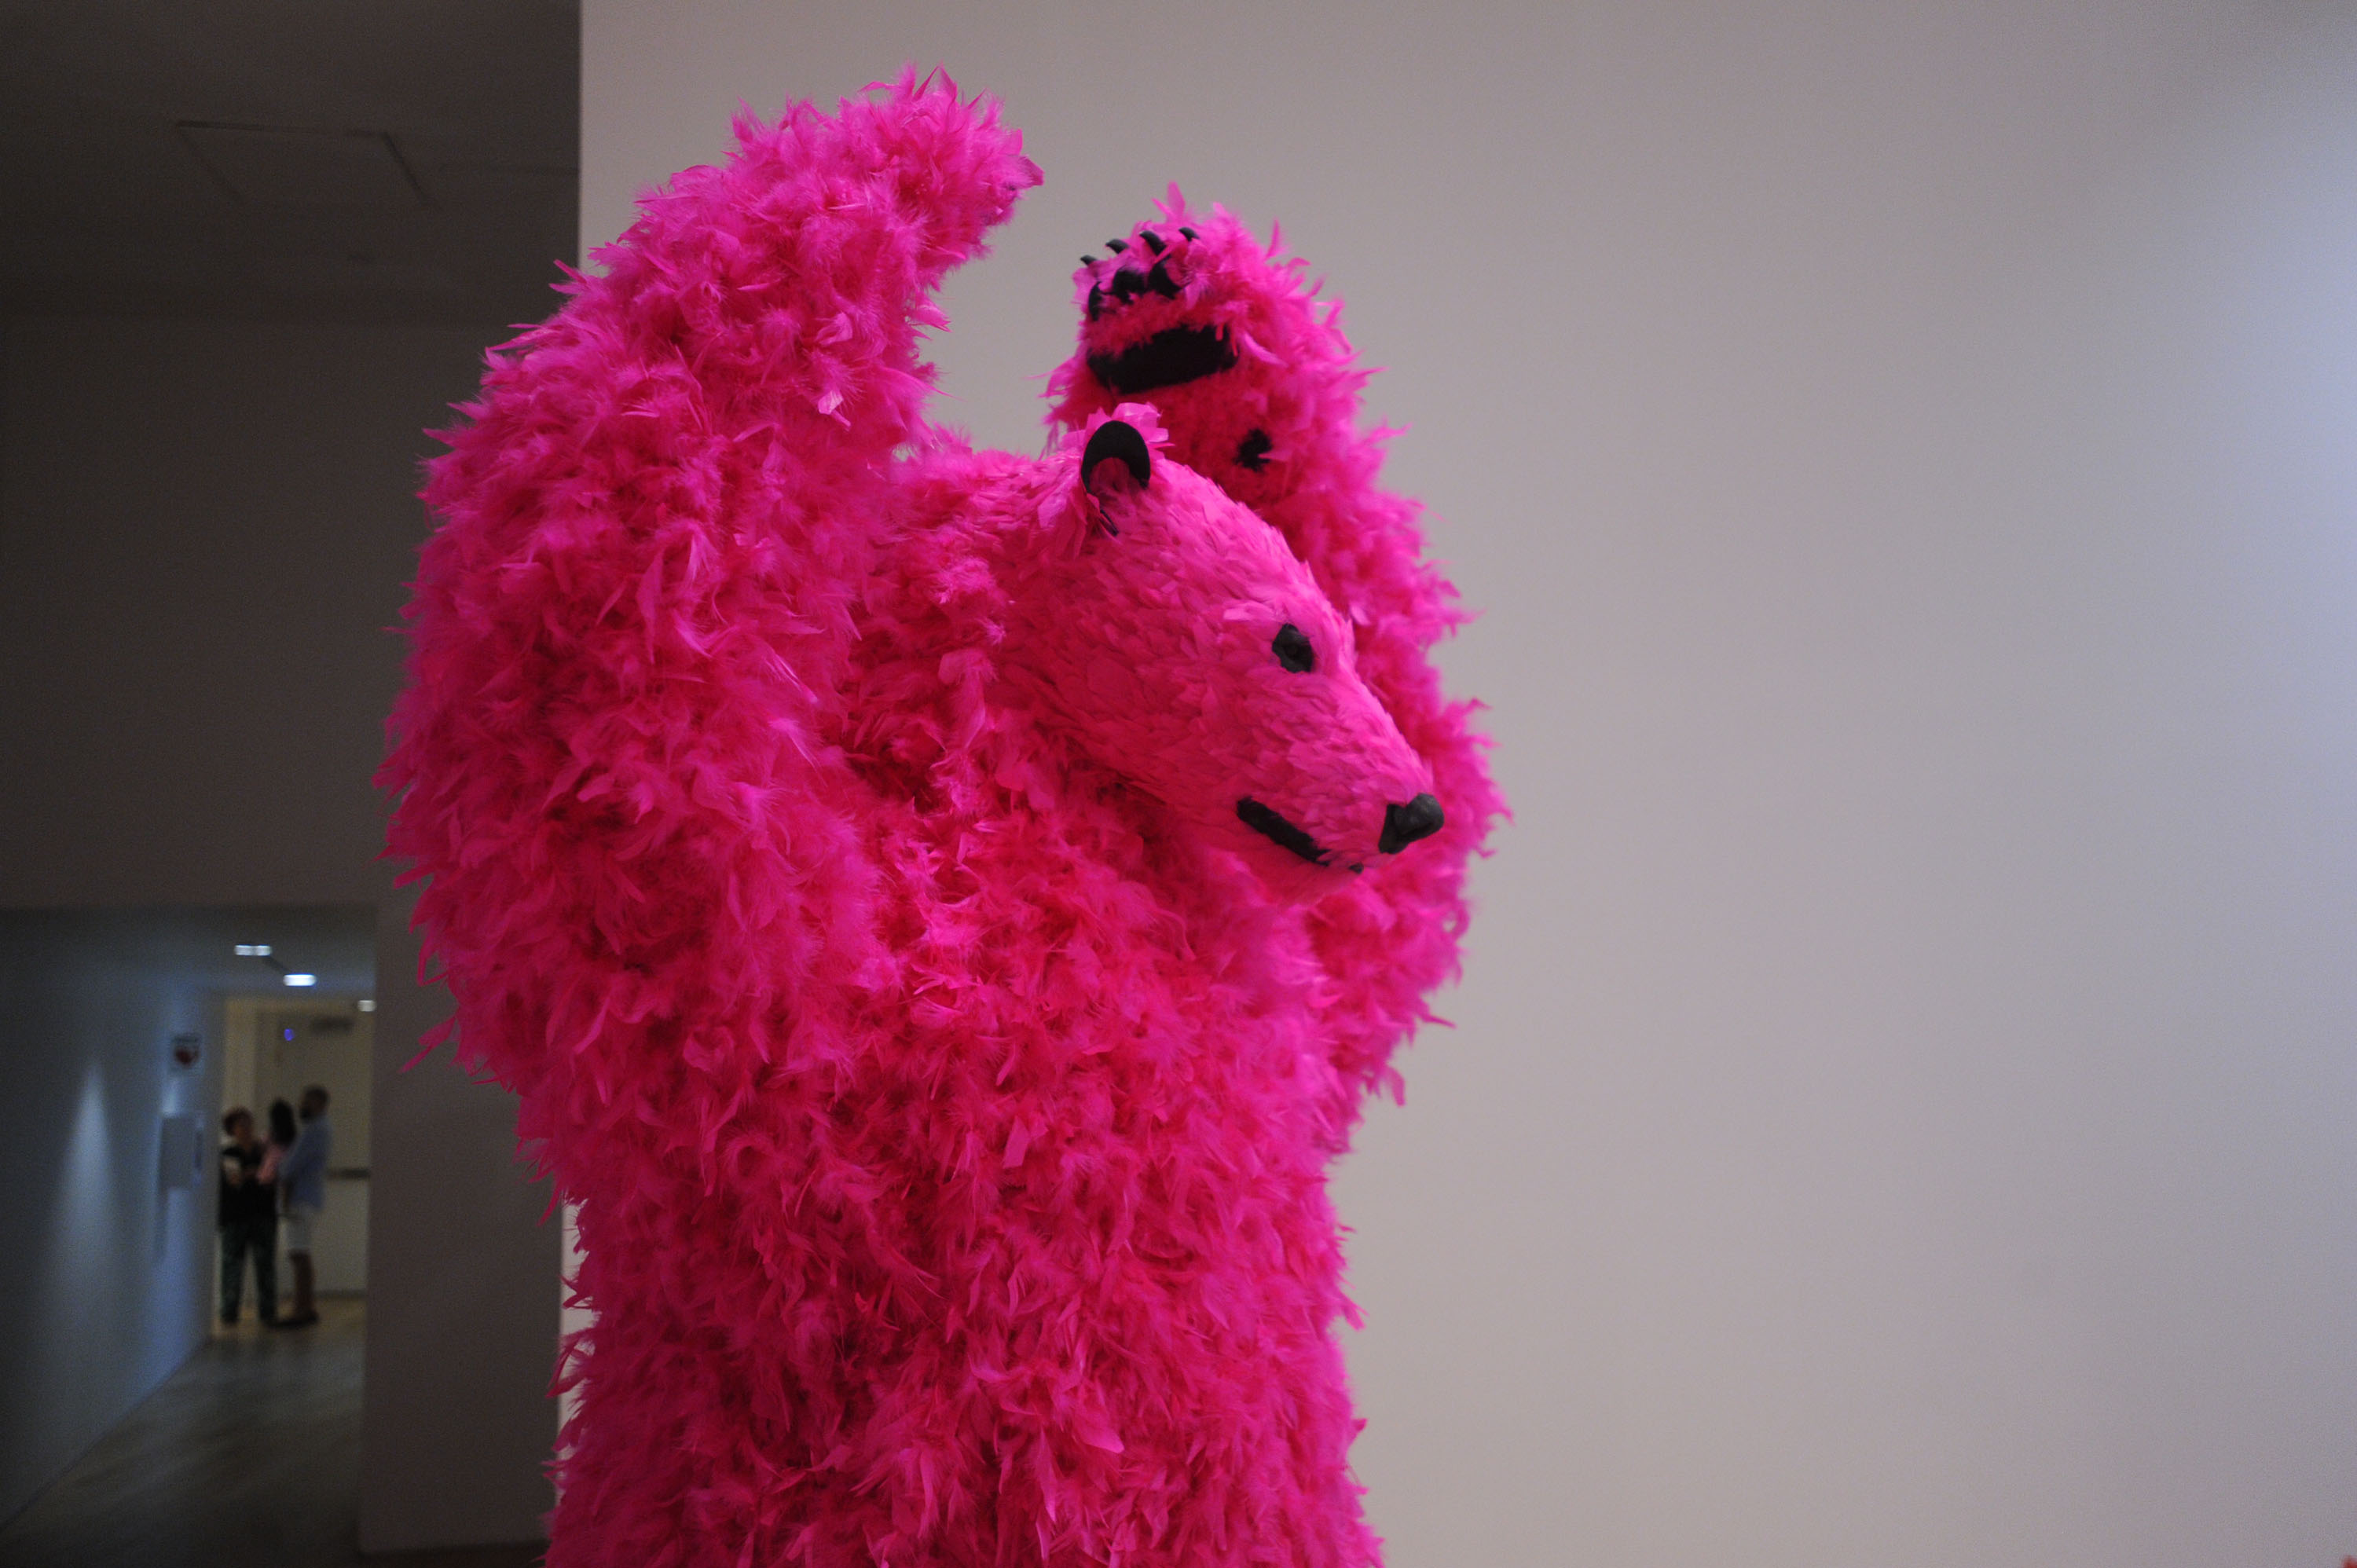
Inspired by Paola Pivi: Art with a view
* Tip: Read this whole lesson plan before you get started so you can see how the plan will evolve.
Lesson Duration: 45 minutes – 1 hour
MATERIALS
- Model Magic/Air Dry Clay*
- Plastic table cloth or paper plate
- Permanent marker
- Optional: popsicle sticks, toothpicks, skewers, forks, spoons and other tools found around the house to create different textures with your sculpture.
*For those with limited resources you can make your own clay using simple household materials. Follow the instructions HERE, or watch the video below to guide you)
Vocabulary: Anthropomorphic is defined as the act of giving the characteristics of humans to other things. An example of something anthropomorphic are the pictures of God that depict Him with human male characteristics without indication or evidence that his appearance is that of an evolutionarily current human.
BEFORE YOU BEGIN
Watch the following videos about Paola Pivi’s exhibition at The Bass and her use of materials.
DIRECTIONS
Prep
Clear a flat surface and place your paper plate or plastic table cloth to ensure your clay does not stain the surface you’re working on.
STEP 1
Look closely at the installation view in the pictures below. To get your creativity going, try to copy each of the poses of each of the bears.
Optional: To extend the length of this lesson, you can spend some time doing specific yoga poses, or follow along to a children’s yoga video.
STEP 2
If you wish to make your own clay, follow the instructions above. If you already have modeling clay or Model Magic, move to STEP 3.
STEP 3
Split the clay into two even halves. Using one of the halves, make one large oval shaped ball (the bear’s body), and another slightly smaller ball (the bear’s head):

STEP 4
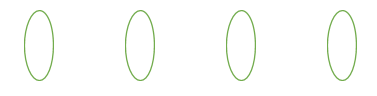
Take the second half and split into four even pieces (these will be your bear’s legs). Roll them up evenly.
STEP 5
Take a tiny piece from one of the legs and create two triangles (this will be your bear’s ears)

STEP 6
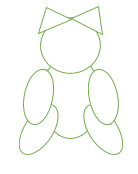
Now, imagine how you would like your bear to be positioned? Place the body of the bear on flat surface.
STEP 7
Attach the smaller ball (head) to either end of the circle. Then, attach the legs to the body. Finally, place your two small triangles on top of the bears’ head.
STEP 8
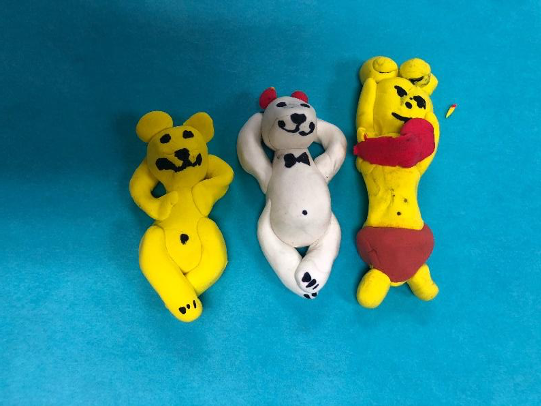
Pinch the face of the bear to sculpt its snout, do the same for his paws. To complete your Paola Pivi Bear, using a marker to draw on eyes, a nose and mouth on your bear!
Optional: If you have left over clay or markers, add additional accessories and details to your bear! Use different household tools
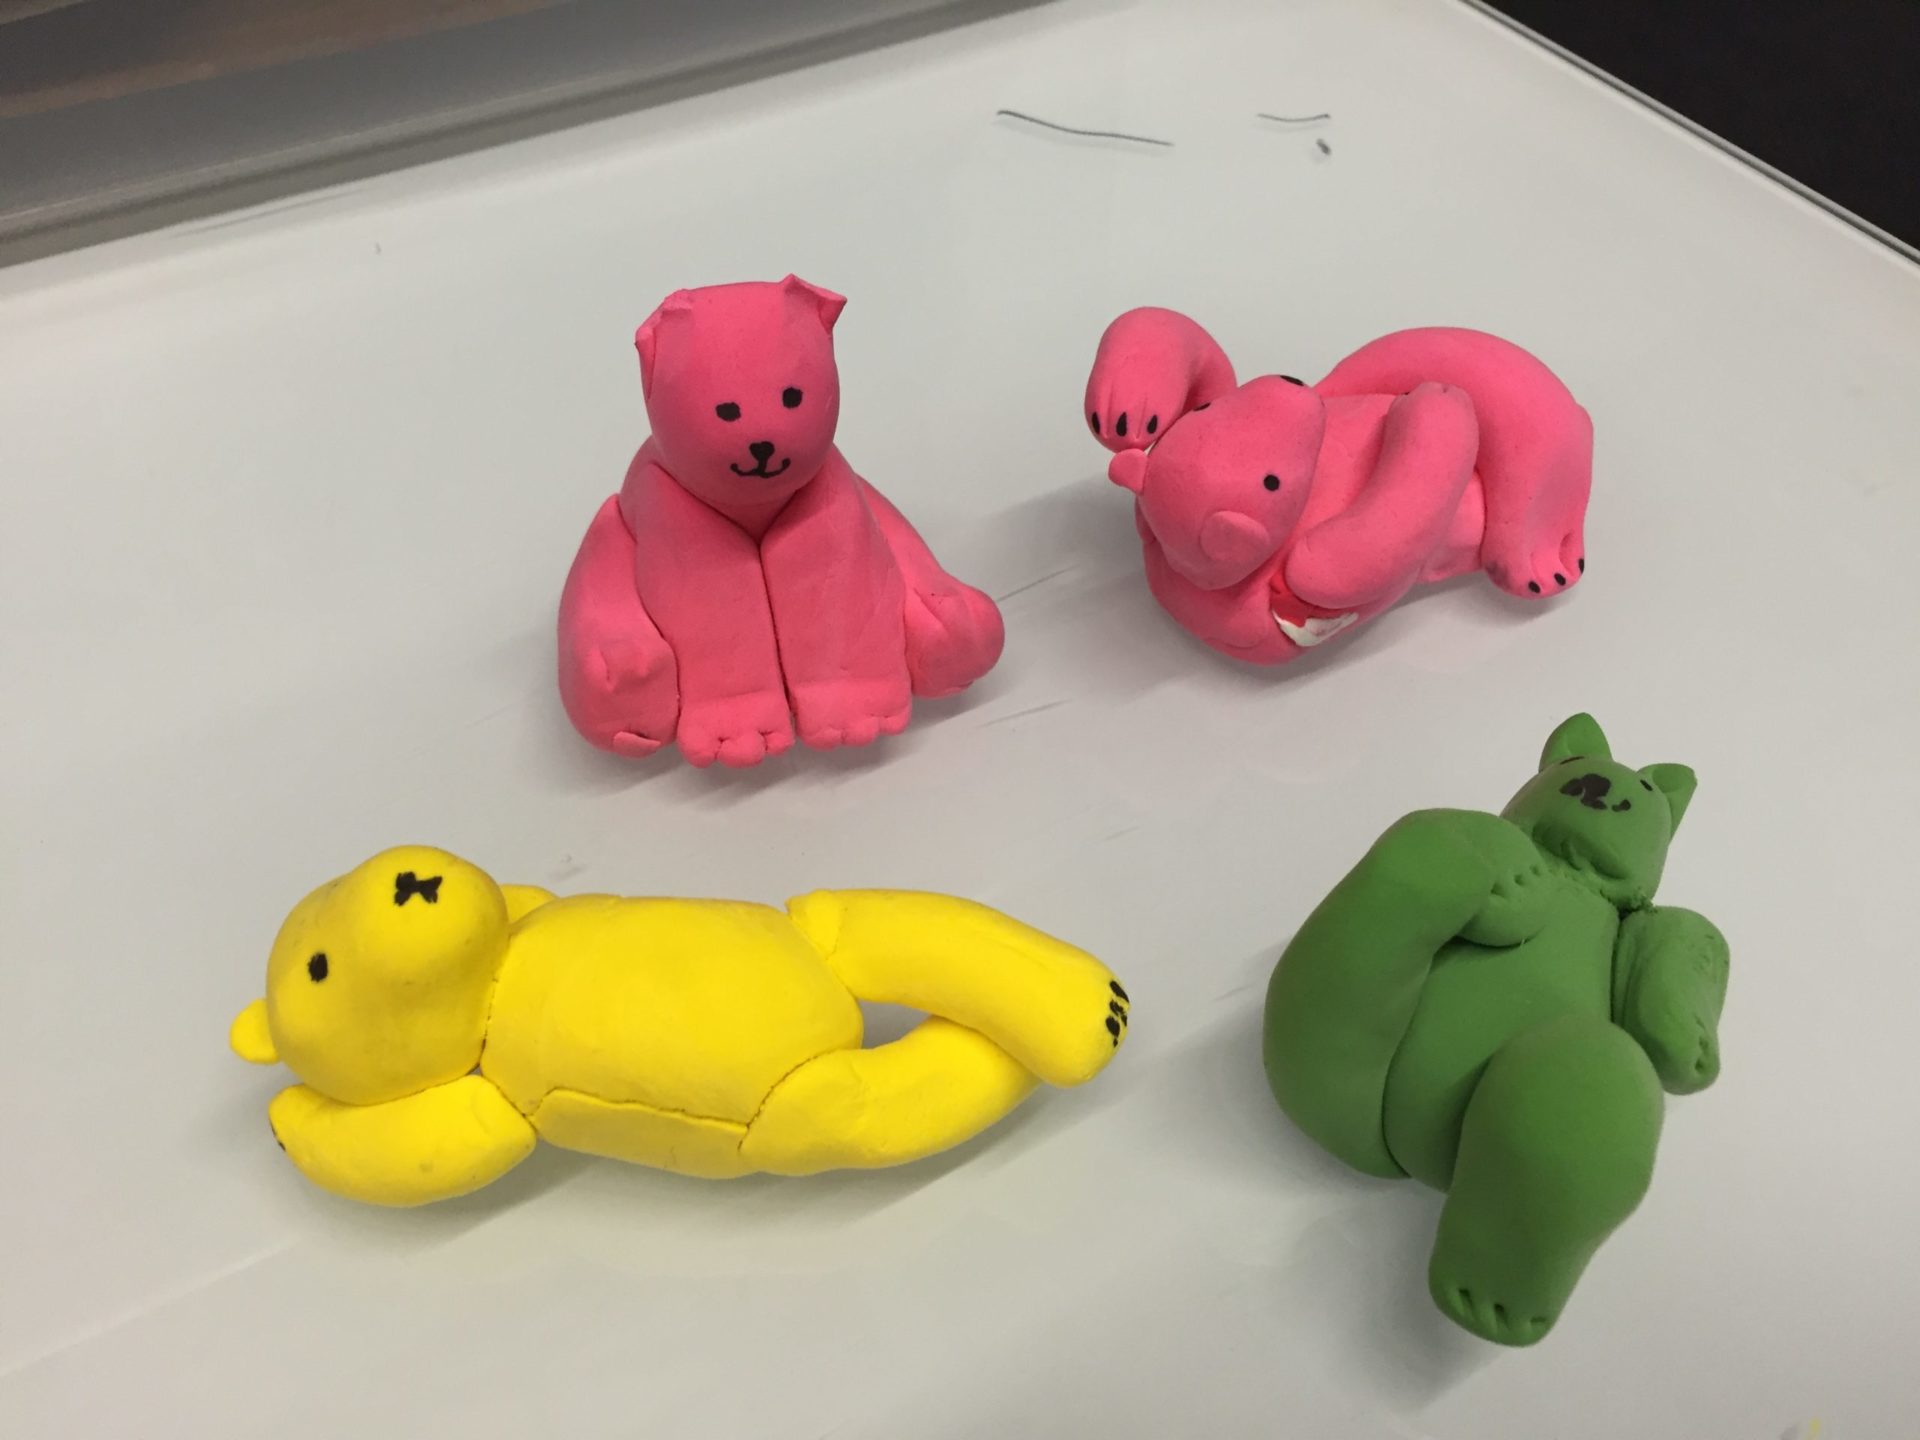
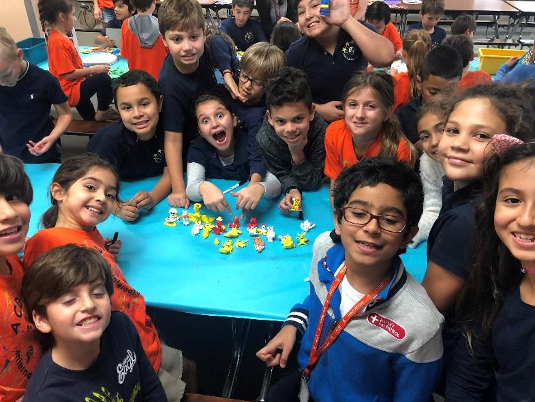
You did it! Use a black pen or pencil to sign your name, and add date and title of your piece, to the bottom of a paper plate or paper. Then place your sculpture on-top. Be sure to share your work by taking a picture of your sculpture and tagging @BassCreativityCenter and #BassCreativityCenter.
LEARNING BENEFITS
Sculpting teaches development and observational skills. Young artists will learn how to watch the world in full detail. They will be more considerate in looking at each part of an object, noticing different shapes and textures. Along with learning sculpture, young artists will also learn to picture the world in a more realistic manner.
Clay is one of the most effective art mediums for young artists to discover and develop their creative and learning skills. When working with clay children use fine motor skills and support sensory development, self esteem, self expression and problem solving. In addition, clay has a well documented therapeutic quality that settles and calms children.
ADAPTATION FOR YOUNGER ARTISTS
Younger artists may need help rolling and creating their sculpture. Assist them by providing images of different shapes to create, and tools to help mold.
ADAPTATION FOR OLDER ARTISTS
Using tools found at home (popsicle sticks, toothpicks, skewers, forks, spoons, etc.) try to create a more detailed sculpture or create multiple sculptures of the bears to create an installation. If you have leftover clay create other sculptures to surround your main piece. Add animals, people and other details to surround your piece.
ADDITIONAL RESOURCES
- Learn more about Pivi’s exhibition Art with a view
- Complete more activities like this inspired by Paola Pivi
- Visit Paola Pivi’s website
Be sure to share your artwork by taking a picture of your sculpture and tagging @BassCreativityCenter and #BassCreativityCenter.